Evaluation

Evaluation: The Manufactured Image

To start with, my project was based around office workers, and commuters who all appear to do the same thing day in day out, and how they lose their identity They almost appear to be like robots or cattle to the stress of everyday life commuting in the city of London. I wanted to create an image which on first gaze appeared normal, but you had to look closer to see what was actually wrong.

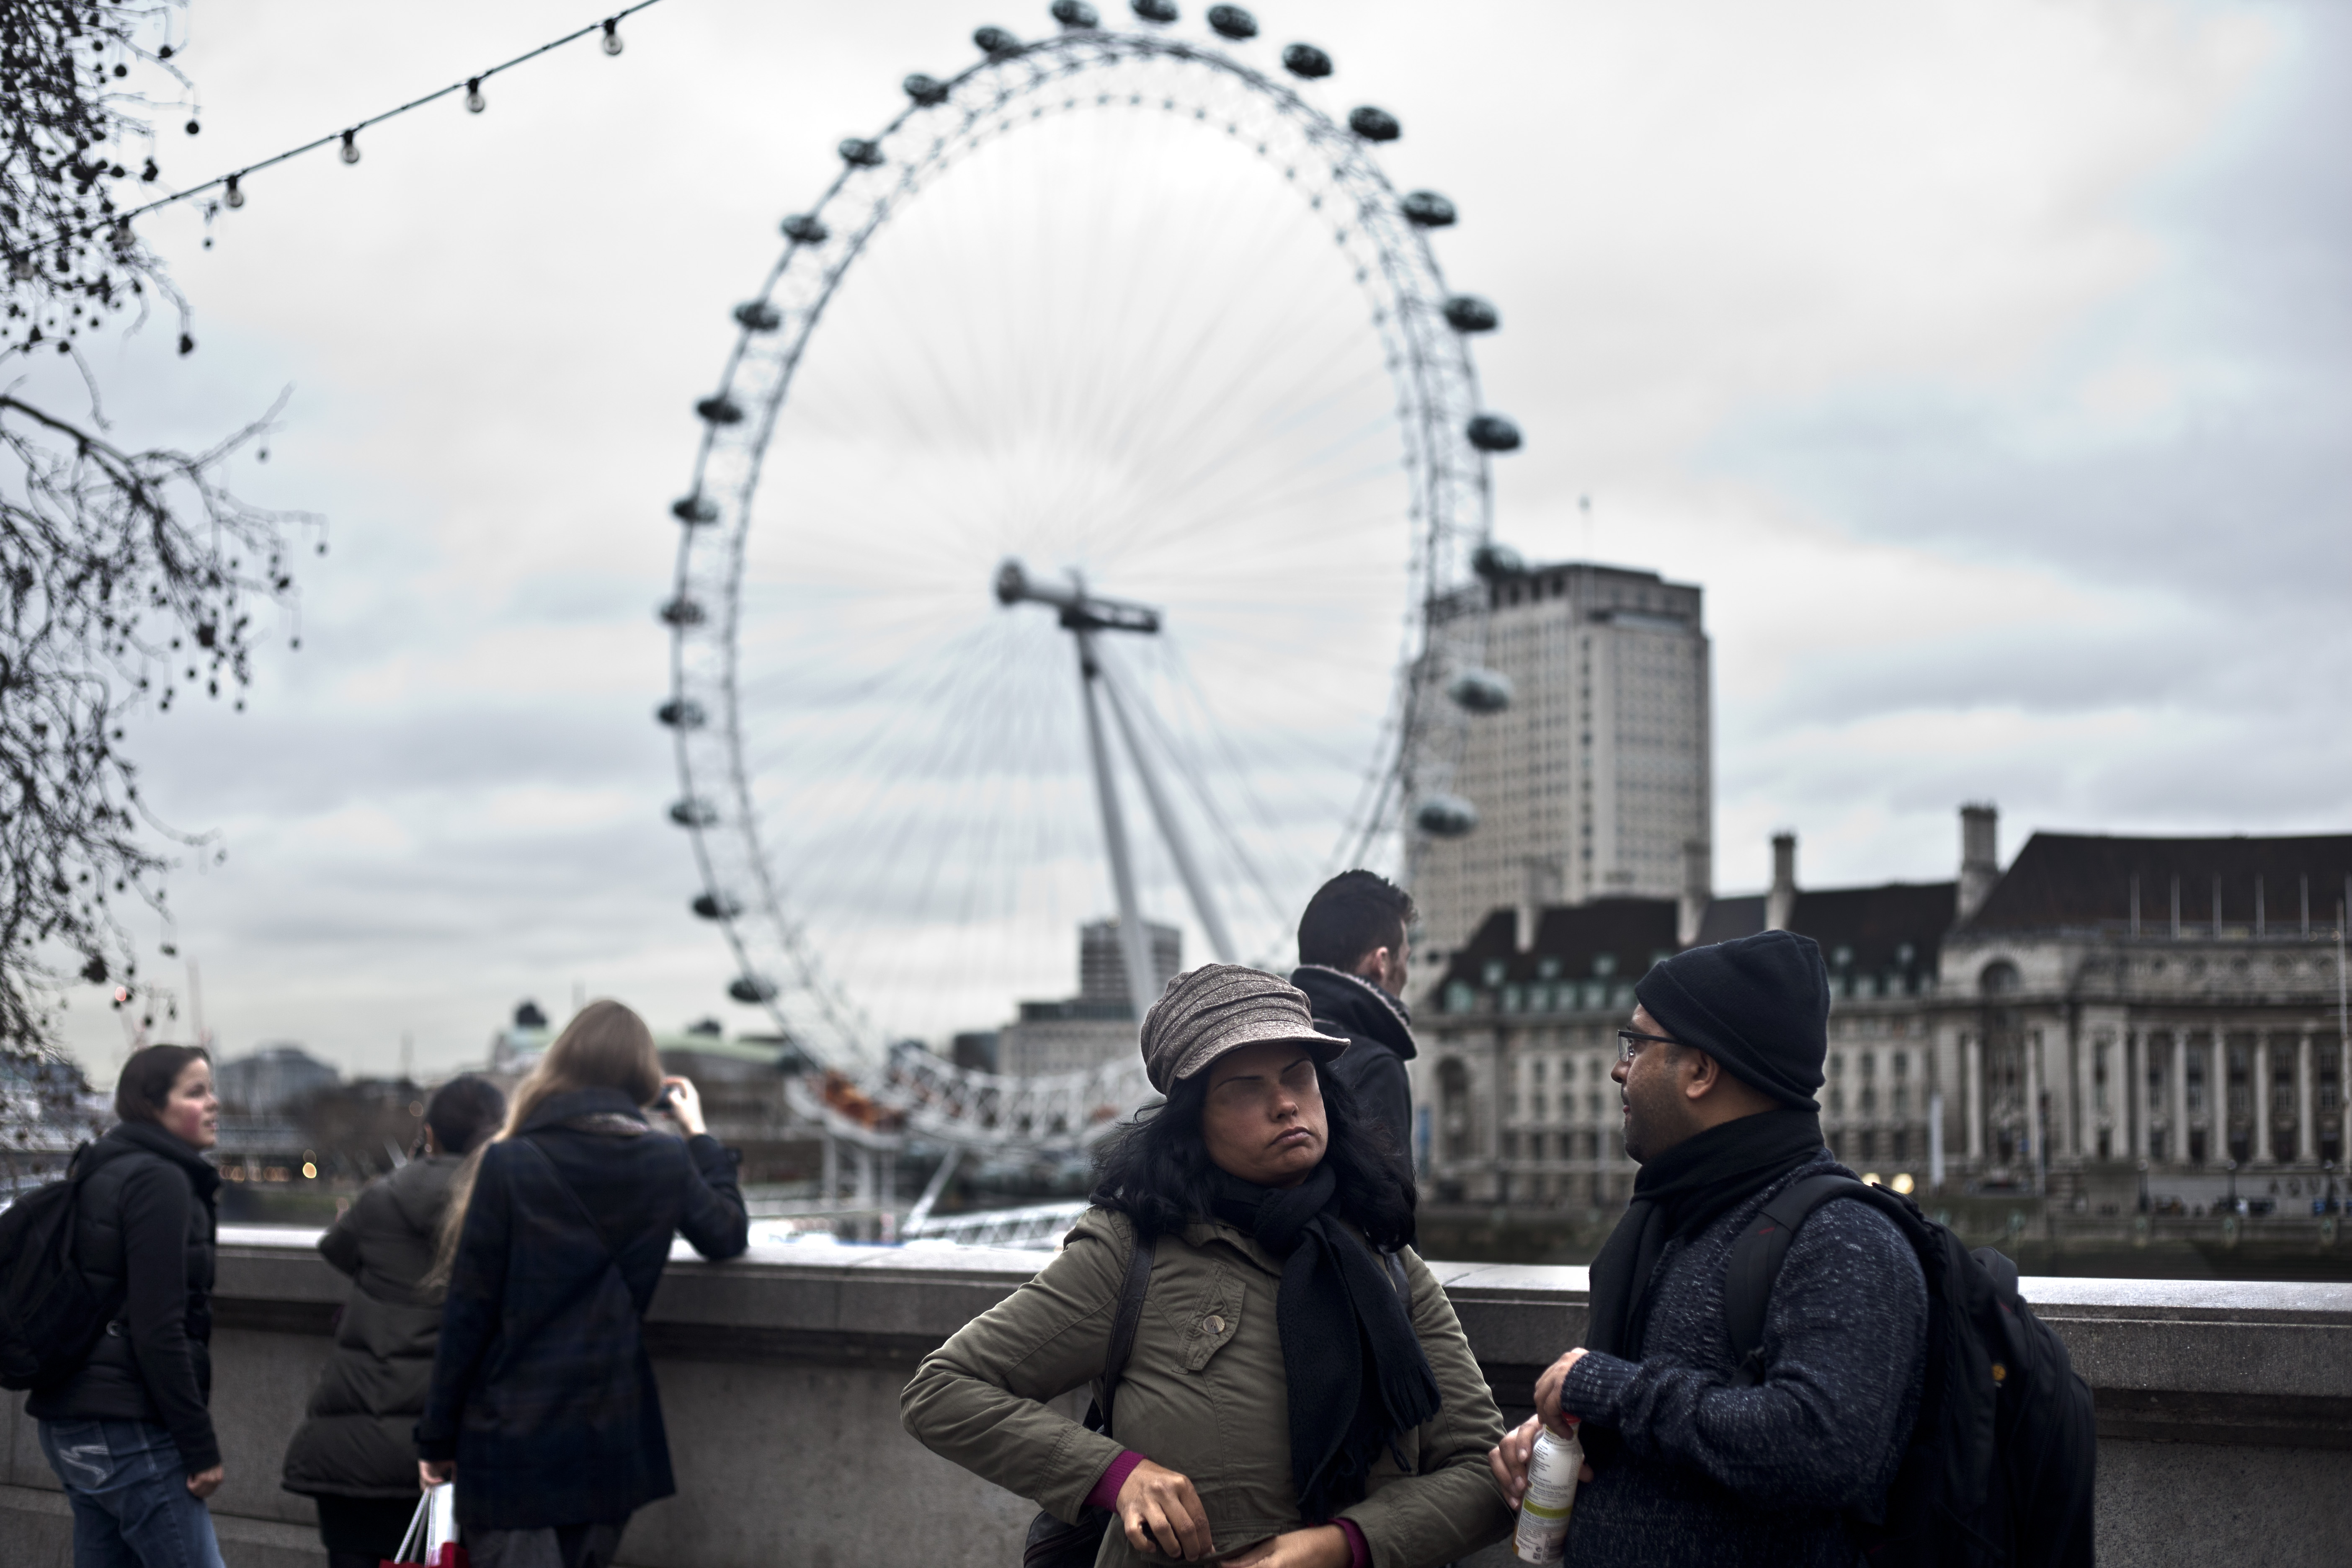
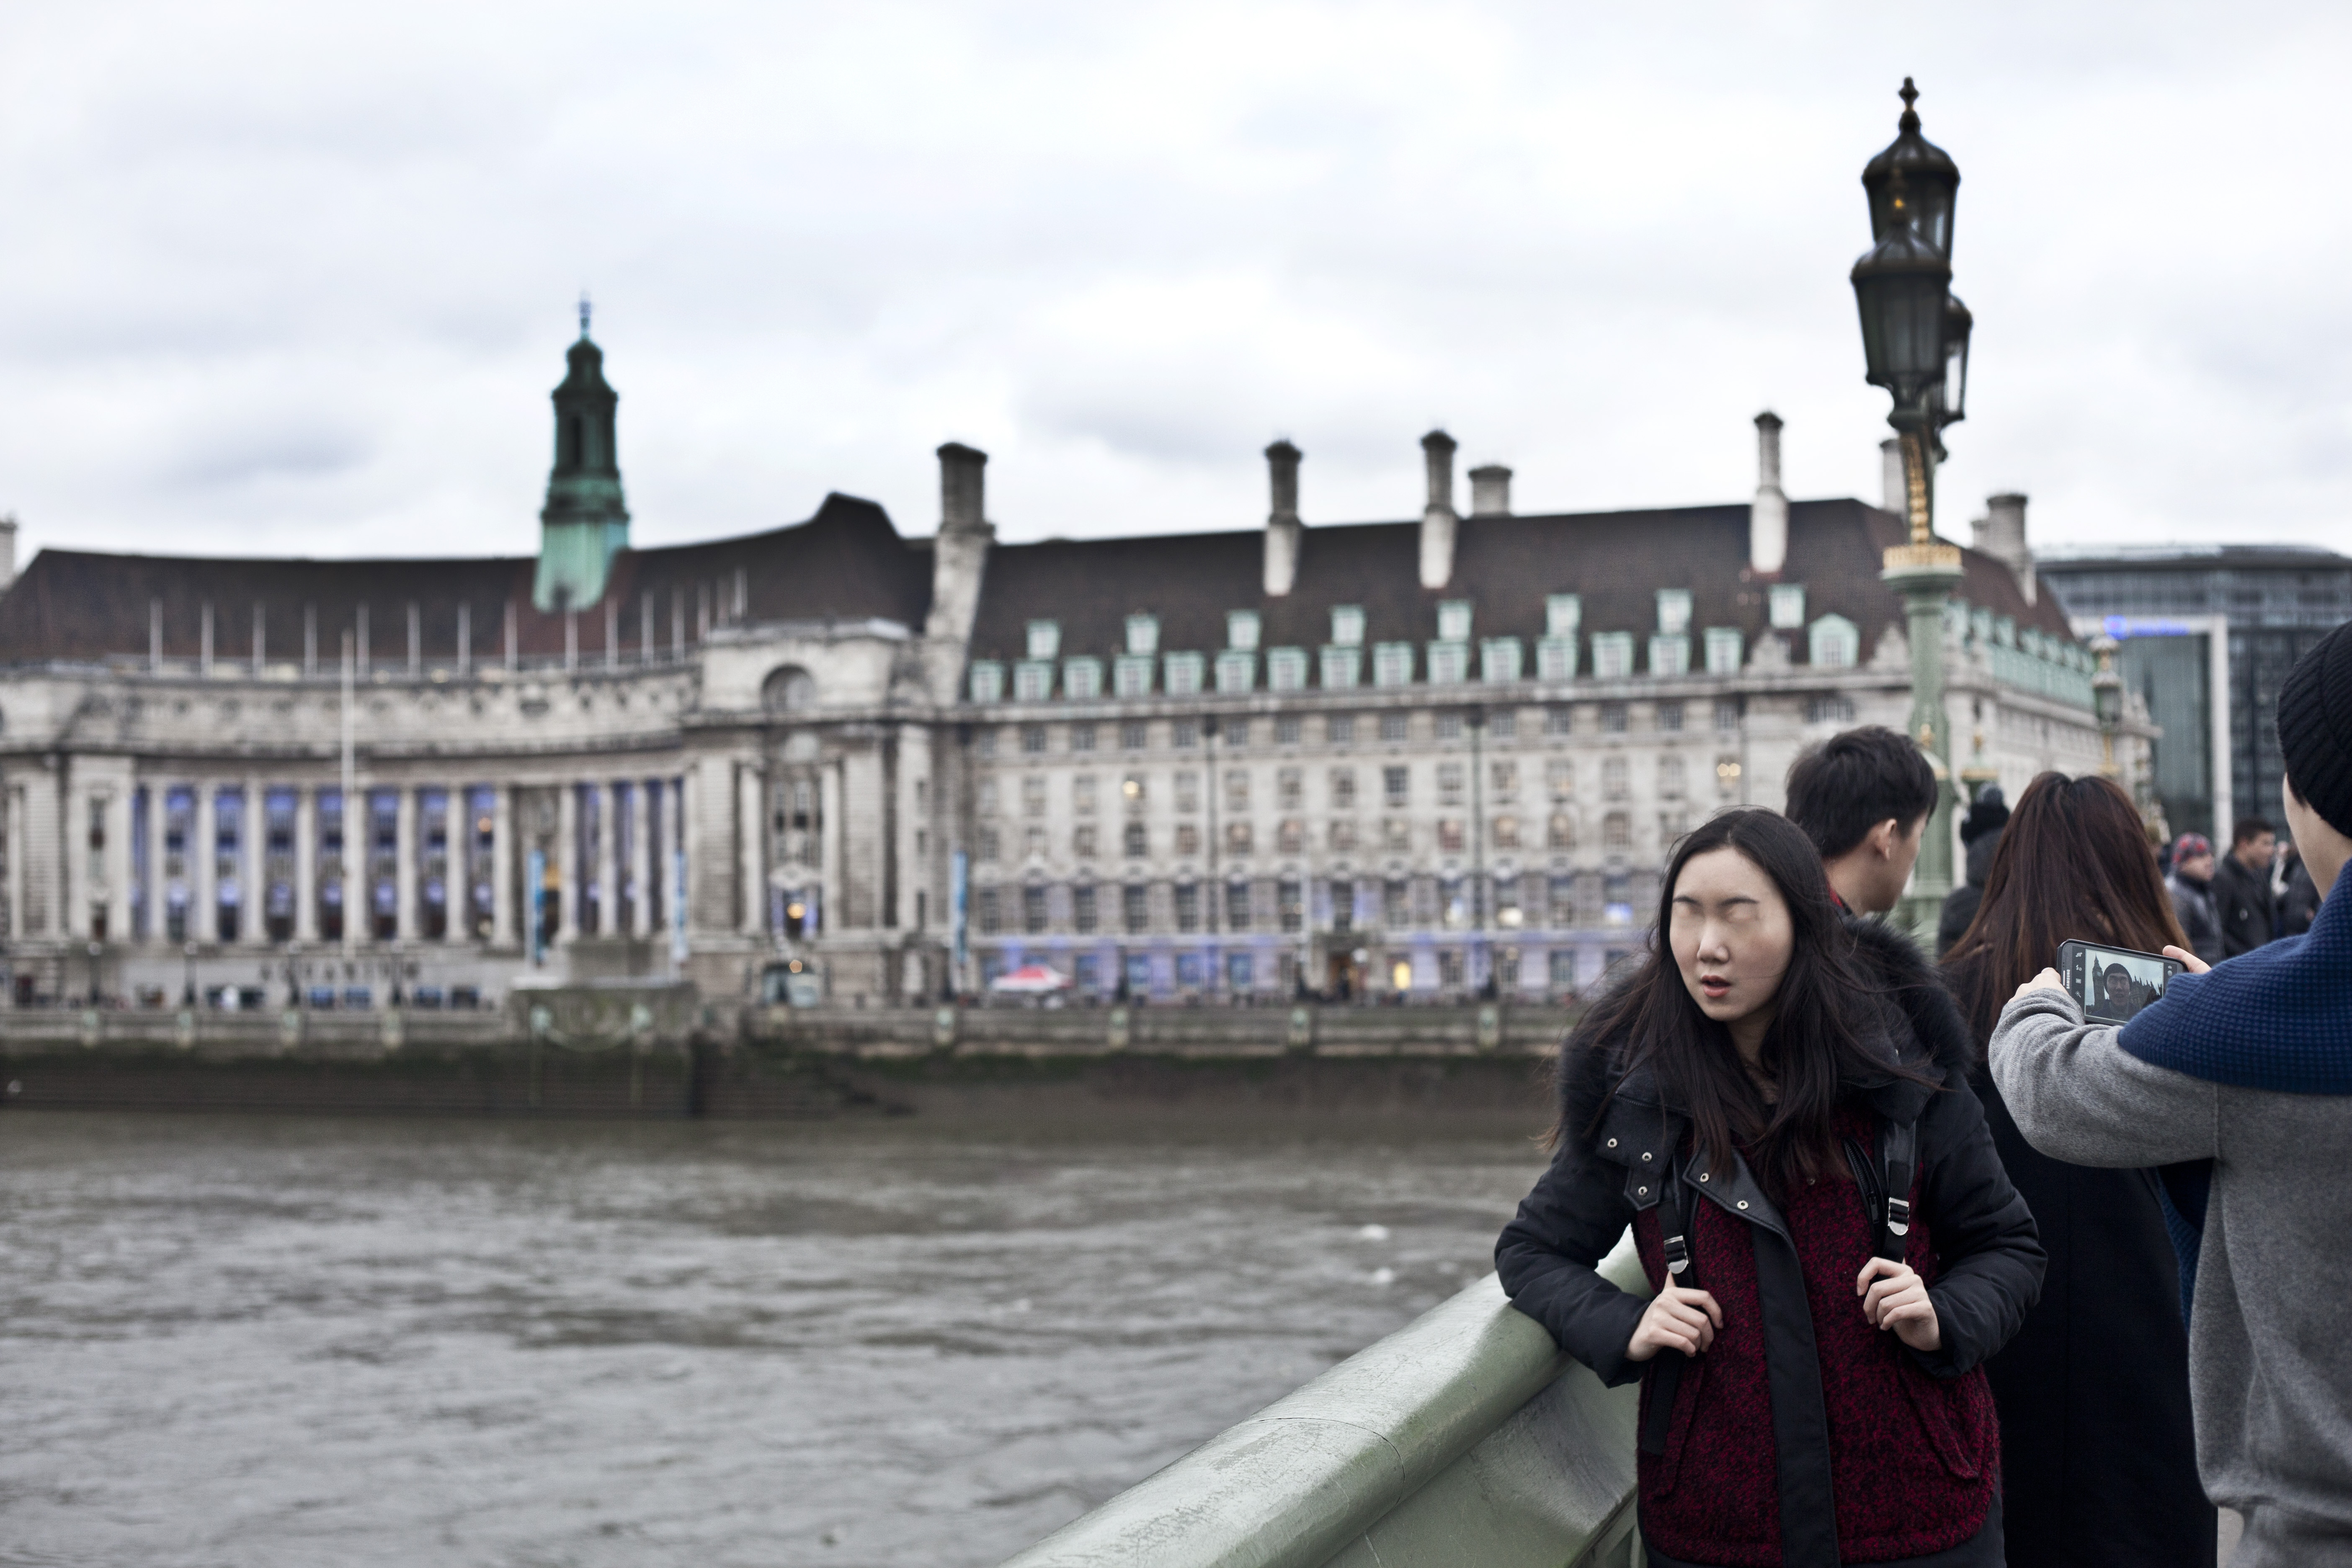
However, after a bit more thought and research, I realised that this idea had been done quite a lot, and wasn’t as unique as I would have liked it to have been. Instead, I chose change my project to something a bit different to my original idea. I chose to base it around tourism, and sight seeing, but not in the conventional way. My point was to remove the sense of sight from tourists who appear not to be interested in the scenery around them. This draws on the idea of something having an aura, and how in modern age the aura has diminished due to the invention of photography.

Many tourists and people visiting sight seeing destinations are often told where to go and what to do. They take their camera, their camera phone, iPad, anything that can take an image, take a snap of the thing that they are visiting (for example the London Eye) and then move along. They are more concerned with getting an image for their holiday than they are about taking in the beauty of these amazing sights.

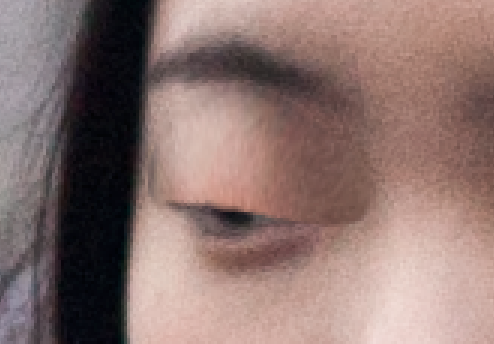
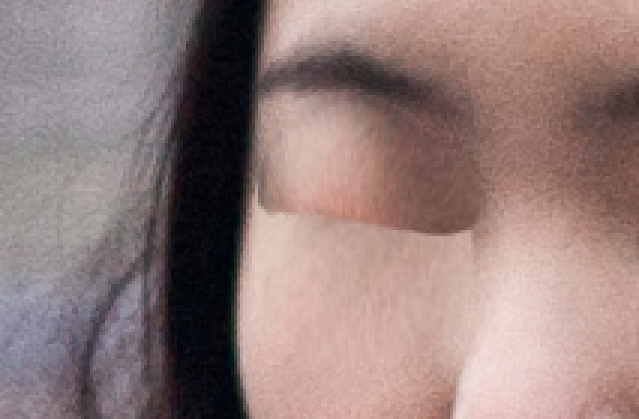
When looking at the image for the first time, you might not first notice what is wrong with the image, but something doesn’t feel quite right. This is the effect I tried to create. I tried not to make it look as though the people were zombies, as that wasn’t the type of atmosphere I wanted to create.

I based a lot of my ideas for the images on Aziz and Cucher’s images on Dystopia, however the underlying meaning of their work differs very slightly from mine. Theirs is more about loss of identity, mine is more about the loss of aura and excitement of landmarks.

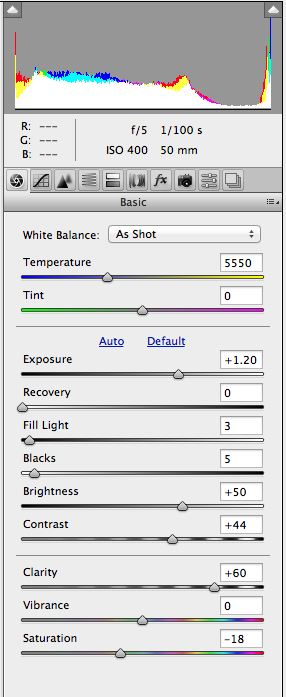
I had a few problems with this project which I think effected the overall outcome. Firstly, I was working with a 50mm 1.8 lens on a Canon 5D mark 2. This probably wasn’t the right type of lens to use for this project. I found it quite hard to get a clear shot of someone’s face with the landmarks in the background. If I had taken this into consideration more beforehand, I probably could have worked with a combination of zoom lenses and wide angle to accommodate both aspects.

I was working in quite grey, gloomy conditions, which is quite common for the time of year I was shooting in London. Consequently I had to increase the ISO when shooting, which in turn left me with some quite grainy shots. In order to avoid this I could have gone on a different day, or worked in film. Unfortunately time was against me, not making this possible.

Overall I am quite happy with my shots. I have chosen to do one A2 print and two A3 prints. I chose my favourite shot to have larger as I believe it is the one that is the most convincing. I think that had I had more time and better weather conditions with this project, I could have created more edits and would possibly see how well my Photoshop skills improve.

Edit number 3

I found this edit the most challenging, which is probably why it’s my least favourite of the images that I have edited. I think this is because the area between his skin and eyebrows was small, so there was not a lot to edit. I found the difference in colour at the top of his eye and below his eye quite hard to correct.

I only changed the settings such as exposure and clarity in camera RAW as opposed to doing it in the document itself on photoshop.

Screen Shot 2015-01-06 at 15.53.08

Using the same method as previously used I tried to cover up the eye with skin.

As I said before I didn’t have a lot to work on with the skin on the upper eye, just below the eyebrow, so found this quite a challenge. Instead I took more selection from the side as opposed to further up, which seemed to work. I then merged the two layers that I had warped to cover up the eye, selected them and edited the hue and saturation, to try and blend in a little more with the rest of the image.

Screen Shot 2015-01-06 at 15.56.52

After getting the correct exposure, and colour, i used the eyedropper tool and paintbrush with a low opacity to blend the outside edges more into the skin, after using layer masks to remove any unwanted part of the layer. After this i selected the bits i edited and added some noise, as after warping etc, it had become a lot smoother than the rest of the face.

This was quite a hard subject to do as well, as his skin wasn’t as smooth as the other two I had edited, he has quite a few blemishes which I found difficult to help blend with the edit.

Please see before and after below

IMG_4073IMG_4073betterfinal

Click to enlarge.

Edit two

For this edit, the background of the image needed a little editing as it was quite overexposed. Working with the RAW file i managed to darken it to a suitable colour to match the foreground.

Screen Shot 2015-01-06 at 15.42.09

In order to change the exposure of the foreground without altering the background, i selected the background using the lasso tool, feather the edges slightly so the selected wasn’t overly obvious, and changed it to the exposure i wanted.

Screen Shot 2015-01-06 at 15.39.22

Screen Shot 2015-01-06 at 15.39.00 Screen Shot 2015-01-06 at 15.40.37

I then used a similar method from the previous edit to remove her eyes. However, she had glasses on, so I used the healing tool to remove them.

Screen Shot 2015-01-06 at 15.38.43

Using a layer mask, the brush tool, eyedropper to select a similar colour to the skin to blend, I managed to try and make it look as if there are no eyes.

See the before and after below:

Screen Shot 2015-01-06 at 15.47.08IMG_4069editfinal1

Click to enlarge.

Edit one

My first edit is of a girl stood on Westminster Bridge with the London Aquarium as her background. This image relates to my previous point about tourists being so concerned with getting pictures of what and where they are been as opposed to actually taking in the view of what is right in front of them. She is posing for a picture which is presumably being taken by her other half. If you look closely, however, you can see that he’s actually taking a ‘selfie’ of him with Big Ben as his backdrop.

I used the same method for removing the eyes as I did for the previous post.

Here are some of the steps used:

Screen Shot 2014-12-29 at 19.49.27

This first image shows where I have selected the skin slightly above the eye itself, and have pulled it down using the warping tool, to cover just over half way of the area I want to be covered.

Screen Shot 2014-12-29 at 19.50.36

I did the exact same thing on the bottom of the eye to create another ‘flap’ over the eye. I swapped around the layers, making the upper eye edit to the top of the layer list, as the line created with it on the top wasn’t as harsh as the other making it easier to edit out.

Screen Shot 2014-12-29 at 19.57.56

Next I used the layer mask tool on the top layer to remove most of the blemishes, including the harsh line of the edited layer. I used a large brush tool with a low hardness to make the tool a little softer, trying to make it look more natural and as if it was supposed to be like that.

Screen Shot 2014-12-29 at 20.32.45Screen Shot 2014-12-29 at 20.00.16

I then moved onto the next eye, using exactly the same technique. However before I started I removed a hair that was across the girls face, which would have made it harder to edit. To do this, I used the healing tool which was quite simple to do.

Screen Shot 2014-12-29 at 20.34.25

After editing both eyes in the exact same way, I used the eyedropper tool on a low opacity to try and smoothen out some areas that didn’t look quite right. I also added some noise to each edited eye using filer>noise to about 2%, as by stretching out different parts of the skin the pixels didn’t look similar to the rest of the image.

I also burned the sky slightly to try and bring out some definition in the clouds.

Contact sheet

I went on a shoot to Westminster, unfortunately the weather wasn’t quite as I would have hoped. It was quite a grey day which resulting in me having to boost up the ISO causing my images to lose quite a bit of quality. However, I think I have some images which have potential to fulfil my brief.

Screen Shot 2014-12-29 at 19.43.06 Screen Shot 2014-12-29 at 19.43.14

Chosen Technique

I have found a technique that I believe looks really effective, and also takes away the ‘zombie-ish’ look that I had previously created, see below the before and after:

square to edit portraitno eyes girl

To create this image I used the lasso tool to selected an area just above the eye. I then used warp to stretch and pull the skin over the eyeball about half way. I then did the same with the bottom of the eye to cover up the rest of the eye with skin. I then used a layer mask to remove the line between the bottom and top selection.

After this I used the paintbrush and eyedropper tool to try and match the rest of the face, so that the edit wasn’t so ‘blocky’. After this I added some noise to the selection to try and blur it out slightly. I then repeated on the other side and this is the outcome I was left with.

I am really pleased with this method and will continue to use it on the final images that I will capture. in regards to my aim of trying to make it look as though there were never any eyes there in the first place, I think that this is the best technique to use. I believe it conveys it well.

Changed and Developed Ideas

After looking at a couple of different techniques and reviewing how the edits look, I have decided to change my approach slightly.

The images that I have previously edited look more as if they are from a horror film, in which they have had their eyes taken from them. This is not the message I want to give. My idea is to imply that they have no sight, not have their sight taken away from them. So I will experiment with different ways of editing, to try and change the perception of my edits.

I also need to go on another photo shoot, as after consideration, it is not obvious enough that this project is about tourism. The images that I had chosen were from a trip to Prague. However, there are no significant landmarks in that city that all would recognise. I think that London is far more globally known as somewhere that tourists flock to, so images taken at places such as, Houses of Parliament (Big Ben), Millennium Bridge with St Paul’s Cathedral in the background, London Eye, Tower Bridge and other recognised London tourist attractions.

I would like to capture people looking up at the attractions, or on the complete other end of the spectrum, have them in front of the attraction completely uninterested and looking at their phones to try and highlight the point of my project.